
 EN

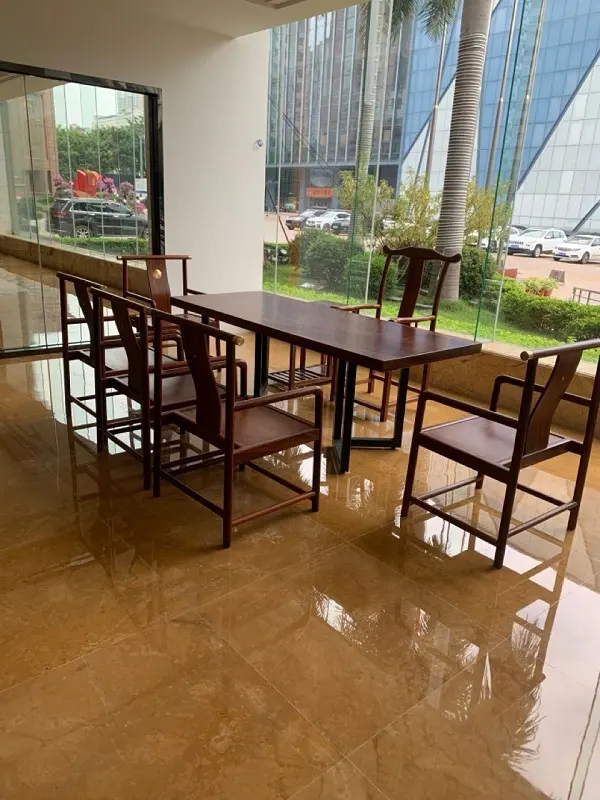
Natural stone floors bring lasting value to hotels and villas, yet a poorly planned job can waste a surprising share of material. A disciplined approach to laying marble flooring tiles keeps offcuts low, protects the budget, and preserves the visual continuity that makes stone floors look refined.
Build a Cutting Plan Before Installation
Draft a Nesting Map From the Room Drawing
A nesting map is the single most effective tool for controlling yield. Before any slab is opened, transfer the room shape onto grid paper at true scale and place each marble flooring tiles module as a rectangle. The math is simple but unforgiving: a tile cut to 280 mm from a 600 mm board leaves a 320 mm offcut that may suit a border or threshold, but a 290 mm cut leaves only 310 mm and a different reuse path. Plotting every cut on paper exposes these relationships before the saw runs, so the cutting sequence is decided by geometry rather than by guesswork on site.
A coastal resort recently faced this exact problem on a 600 m² lobby and corridor floor finished in 600×600 mm polished marble flooring tiles. The first installer planned cuts room by room, so each space produced mismatched remnants and visible tone jumps at every doorway; close to a third of the delivered stone risked becoming scrap. The remedy was a revised nesting plan drawn across the full footprint, with lots sorted by tone, veins aligned along the main corridor axis, and a 200 mm border band specified to absorb short pieces. Thresholds were pre-cut to one standard width off-site. Offcut waste fell sharply, doorways matched cleanly, and the surplus formed a labeled offcut library for later repairs.
Align Vein Direction for Continuous Flow
Vein matching across a large floor demands that every tile face the same direction. Mark the preferred veining orientation on each carton and brief the setters so the pattern reads as one continuous surface rather than a random mix. When the grain flows consistently, fewer tiles get rejected for visual mismatch, which directly reduces waste. For marble flooring tiles with bold movement, a single agreed direction also speeds the laying rhythm because setters stop second-guessing orientation at every board.
Sort Boxes, Lots and Tone
Sort Boxes and Lots for Consistent Tone
Stone varies between quarry blocks, so pieces from different production lots show tone shifts. Open all cartons and group them by lot code before laying. A controlled blend from adjacent lots hides minor differences; mixing distant lots causes rejection and re-cutting. Suppliers certified to ISO 9001:2000 apply piece-by-piece checks that tighten this consistency, while ISO 14000 guides the environmental controls behind responsible fabrication. Both standards matter when a project needs steady tone across a long delivery schedule.
Plan Borders to Absorb Offcuts
Decorative borders are a clever sink for offcuts. Reserve a border band along walls and around columns where shorter pieces fit naturally. Instead of discarding 150–300 mm remnants, integrate them into a patterned edge. This turns scrap into a design feature and lowers the net material demand. Plan the border width early so the main field of marble flooring tiles can feed it directly, avoiding the need to buy separate trim that duplicates stone already on site.
Refine Thresholds, Edges and Bedding
Standardize Threshold and Door Cuts
Thresholds and door jambs generate awkward small cuts. Define a standard threshold width and pre-cut a stock of matching pieces off-site. Uniform transition strips remove guesswork at every opening, so setters reach for a ready part instead of trimming a full tile on the spot. Marble flooring tiles cut to a consistent threshold size also reduce the risk of chipped edges at high-traffic doorways where impact is most likely.
Choose Rectified Edges and Thin-Set Bedding
Rectified edges are mechanically cut to a precise, uniform gauge, allowing tighter joints and cleaner cuts with less breakage. Pair them with a properly mixed thin-set bed that levels the subfloor and reduces lippage. A flat, even base means fewer tiles crack or need replacement during setting, protecting both material and schedule. Where polished surfaces meet wet zones, reference ANSI A137.1 and ASTM C1028 for slip-resistance guidance so safety and yield are addressed together.
Reuse Offcuts and Control Risk
Keep a Labeled Offcut Library
After each area is laid, sort usable remnants by size and tone into a labeled offcut library. Those pieces serve later repairs, stair nosing, or skirting. Keeping them organized prevents ordering fresh material for small jobs and gives the floor a long-term maintenance reserve. A simple shelf system with size tags turns what used to be waste into a callable inventory for the building's facilities team.
Inspect Material and Order Realistic Allowances
The biggest waste risks appear before laying: accepting shade-varied cartons, setting on a damp or uneven subfloor, and cutting without a sequence. Each forces rework. Order a realistic allowance, typically 8–12 percent for straight layouts and more for diagonal or bordered patterns. On delivery, inspect for shade variation, edge damage, and moisture before acceptance. ASTM C97 measures water absorption, a useful signal of density and durability for flooring subject to cleaning and foot traffic. Buy marble flooring tiles from a manufacturer that documents lot control and provides reference samples so future replenishments stay visually close.
Reducing waste is a planning discipline, not luck. A clear nesting map, sorted lots, aligned veins, and a ready offcut library let a project use marble flooring tiles efficiently while keeping the floor beautiful and consistent. Smarter layout, threshold design, and verified material quality turn offcuts from loss into lasting value.
Frequently Asked Questions
Question
What waste allowance suits a marble floor layout?
Answer: A straight layout typically needs 8–12 percent extra material, while diagonal or bordered patterns need more because cuts fall on angle. Measure the room, count doorways and columns, then add a buffer for breakage and selection. Ordering against a documented plan prevents shortfalls that force rushed reorders from a different lot, which would break tone continuity.
Question
Why does lot sorting reduce stone offcuts?
Answer: Stone tone shifts between quarry blocks, so mixing distant lots creates visible jumps that lead to rejection and re-cutting. Sorting cartons by lot code and blending adjacent lots hides minor differences and keeps more pieces in use. Suppliers working to ISO 9001:2000 apply piece-by-piece checks that tighten consistency, which means fewer tiles are discarded during layout and more of the delivered material reaches the floor.
Question
How should offcuts be stored for later use?
Answer: After laying, sort remnants by size and tone into a labeled offcut library on a simple shelf with size tags. Keep pieces dry and flat, away from foot traffic, and record the lot code so future repairs match. This reserve serves stair nosing, skirting, and chip fixes without ordering fresh material, turning what was scrap into a callable inventory for the facilities team.
Question
Can a nesting plan work for diagonal layouts?
Answer: Yes. A nesting plan works for diagonal layouts, though angled cuts raise the offcut rate and call for a larger allowance. Draw the room at true scale, rotate the tile grid to the chosen angle, and plot every cut before the saw runs. Plan border bands to catch the triangular remnants that diagonals create. With the geometry set on paper first, setters follow a fixed sequence instead of deciding cuts on site.
Question
Where should border bands be placed to save material?
Answer: Border bands save the most material when placed along walls, around columns, and at room edges where short pieces fit naturally. A 150–300 mm band absorbs remnants that would otherwise be scrap, turning them into a finished edge. For marble flooring tiles, plan the band width early so the main field feeds it directly, and avoid buying separate trim that duplicates stone already on site.