
Inadequate Surface Preparation for Marble Flooring Tiles
Substrate Flatness, Strength, and Moisture Control Requirements
Proper substrate preparation is the non-negotiable foundation of durable marble flooring tile installations. Three interdependent factors must be verified before adhesive application:
- Flatness tolerance must not exceed 3mm over 2m—exceeding this invites lippage, cracking, and uneven wear
- Structural strength requires deflection limits L/360 for wood subfloors and L/720 for stone installations to prevent dynamic stress transfer
- Moisture control mandates vapor barriers beneath concrete slabs and moisture testing (<5% RH variance) to avoid bond degradation
Industry data shows 68% of tile delamination stems from substrate deficiencies—not adhesive or tile quality. Self-leveling compounds correct flatness flaws; crack-isolation membranes decouple movement between substrate and tile. These aren’t optional upgrades—they’re essential risk-mitigation steps.
Common Substrate Failures: Cracked Concrete, Deflecting Plywood, and Uncured Screeds
Three recurring substrate errors trigger irreversible damage:
- Cracked concrete transmits tension directly to marble, producing mirror-image fractures across tiles
- Deflecting plywood exceeding L/360 tolerance causes cyclic grout fatigue and eventual disintegration
- Uncured screeds (installed before 28-day cure or >12% moisture content) release vapor that compromises thinset hydration, leading to efflorescence and hollow spots
Professional assessment—using straightedges for flatness and calibrated moisture meters for RH—is far more cost-effective than remediation, which averages $40/sqft in labor and material replacement.
Incorrect Adhesive Selection and Application for Marble Flooring Tiles
Why Standard Thin-Set Fails: Cement-Based vs. Polymer-Modified Adhesives
Regular cement based thin set adhesives just don't cut it when working with marble flooring tiles because they simply aren't flexible enough and won't stand up to moisture properly. Marble has several characteristics that make standard adhesives problematic. Its low porosity means it doesn't absorb much water, but it's also sensitive to temperature changes and pretty dense overall. These properties require special polymer modified adhesives that can handle tiny movements without cracking and still resist water breakdown over time. The problem with regular thin set is that it tends to shrink as it cures, which creates gaps underneath the tiles and weakens the bond between tile and substrate. According to the latest edition of the TCNA Handbook from 2023, using these modified adhesives cuts down on failures later on by around 40 percent compared to regular products. When dealing with light colored or see through marbles, installers should go for white polymer modified adhesive specifically. Gray versions might lead to unsightly yellow tinge showing through the stone or create dark shadows where light passes through, ruining the appearance completely.
Back-Buttering Large Marble Flooring Tiles to Prevent Delamination
Big format marble floor tiles need what's called back buttering when installing them. This means putting adhesive on both the floor surface and the back of each tile to get at least 80% coverage area. If installers skip this important step, all the weight ends up pressing down on the tile edges which makes them peel away faster from normal walking around and temperature changes over time. The process usually starts with a half inch by half inch notched trowel applied to the base first. Then another coat goes on the tile itself using the flat side of the same tool while pressing down hard enough to really fill those tiny gaps underneath the stone. Doing it right creates complete contact between surfaces and gets rid of those pesky air bubbles that form otherwise. According to Tile Magazine in their 2022 issue, installations where workers forget about back buttering tend to have about three times as many problems with uneven edges and people complaining about tiles sounding hollow when walked upon.
Poor Layout, Cutting, and Leveling Practices with Marble Flooring Tiles
Dry Layout and Pattern Alignment to Avoid Visual Disruption
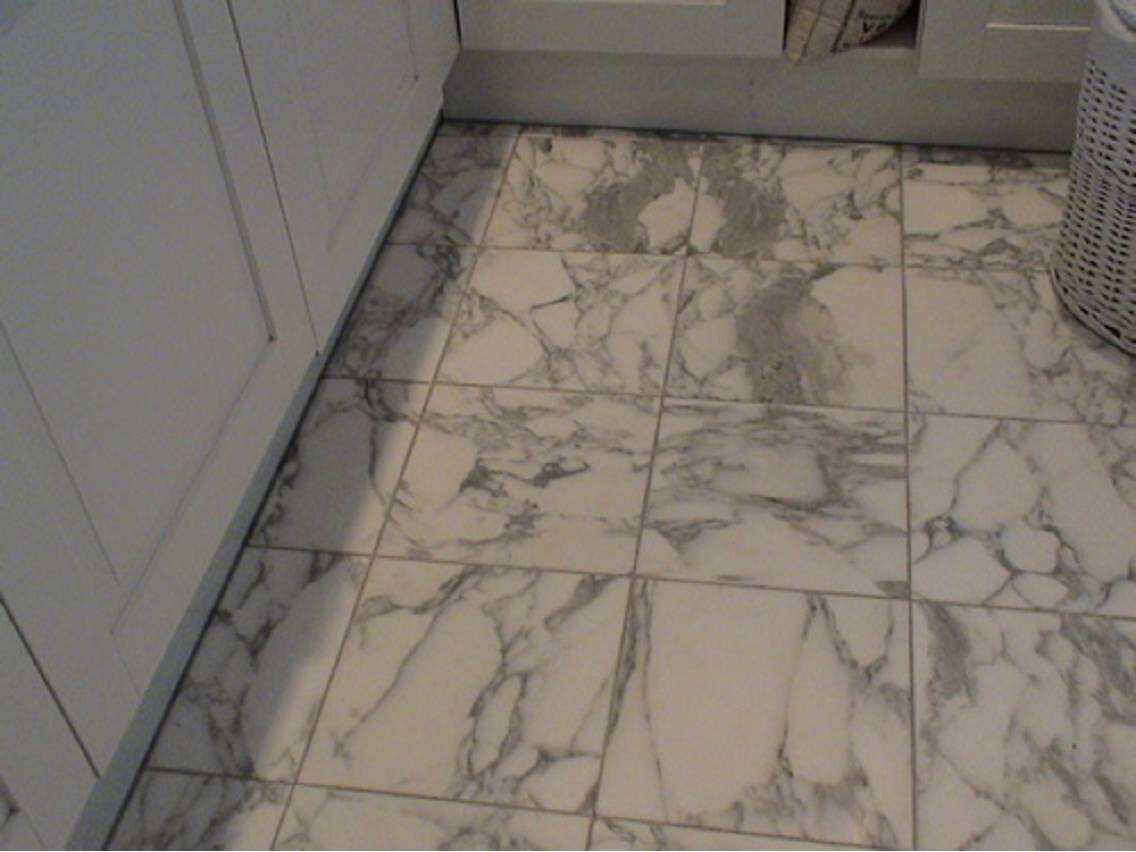
Laying out marble floor tiles dry before setting them down is absolutely essential, not something that can be skipped. Start by placing all the tiles without any adhesive so you can see how they fit together, figure out where those tricky cuts need to go, and check if everything looks balanced. Don't forget to put tile spacers between each piece right away to keep those grout lines looking neat and even throughout the whole job. Remember that old saying "measure twice, cut once" because mistakes when cutting marble cost money - studies show around 23% of wasted materials comes from bad cuts during high end installations. When working with bold marbles such as Calacatta Gold or Spanish Emperador Black, pay close attention to how the veins run across neighboring tiles. The pattern should flow naturally from one to the next for that seamless look everyone wants. Use waterproof markers specifically designed for stone surfaces when marking where to cut, otherwise those marks will just smear away on the shiny finish. And always start laying out tiles from the middle of the room rather than relying on walls since most walls aren't perfectly straight or square anyway.
Tile Lippage Control: Measurement Standards ( 1/32”) and Correction Tools
Lippage—the vertical offset between adjacent tile edges—must not exceed 1/32 inch (0.8mm), per ANSI A108.02. On polished marble, even minor lippage disrupts light reflection, creates tripping hazards, and accelerates edge chipping. Critical tools include:
- Tile leveling systems, which clamp tiles flush during setting and are indispensable for large-format marble
- Straightedges, used continuously during installation to detect deviations early
- Consistent grout joint width, which minimizes visual impact of residual lippage within tolerance
Back-butter large tiles to ensure full coverage, and make final adjustments within 15 minutes of placement—after that, adhesive begins to set and corrections become impractical.
Rushed or Improper Grouting and Sealing of Marble Flooring Tiles
Grouting and sealing are not finishing touches—they’re functional safeguards for marble flooring tiles. Rushing or skipping them undermines both durability and appearance, turning a premium investment into a maintenance liability.
Grout Line Consistency and Spacer Use for Uniform, Stress-Free Joints
When grout lines aren't consistent, they tend to create stress points that can actually spread cracks throughout the marble's crystal lattice over time. Most professionals recommend using those small plastic spacers between tiles to keep gaps regular across the surface. The ideal range is usually somewhere around 1/16 inch to maybe 1/8 inch thick. These tiny spaces help balance out both temperature changes and physical stresses on the material. If joints get too big, say bigger than 3/16 inch or so, problems start piling up fast. The larger space means more grout will dry and shrink unevenly, which leads to weak spots prone to breaking apart and getting stained later on. Regular sized joints matter especially when dealing with natural stones like marble in areas where humidity levels fluctuate seasonally. A few extra millimeters here or there might seem trivial, but they make all the difference in how well the whole installation holds up year after year.
Curing Time Before Grouting or Sealing: Protecting Bond Integrity and Stain Resistance
When someone rushes into grouting or sealing work, they're basically breaking basic chemical rules. What happens is moisture gets trapped underneath the adhesive or grout before everything has had time to properly hydrate, which makes those bonds weaker and sets up problems down the road. Most adhesives need at least 24 hours to set properly, though some manufacturers actually recommend waiting up to three whole days before doing any grouting work. If people seal things too early, all that leftover moisture stays locked inside, leading to issues like white powder buildup on surfaces, adhesives coming loose, and stubborn stains caused by stuff getting stuck in there permanently. Once the grouting is done, give it somewhere between two and three days before thinking about sealing. This allows the grout to finish hydrating completely. For calcareous stones, stick with penetrating sealers designed specifically for these materials. Apply them in two separate thin layers instead of going crazy with one thick coat. Doing it this way prevents cloudy spots and ensures better coverage throughout the material.
| Critical Timing Milestones | Minimum Duration | Risk of Deviation |
|---|---|---|
| Adhesive curing pre-grout | 24 hours | Delamination, hollow tiles |
| Grout curing pre-sealing | 48 hours | Stain absorption, weak joints |
| Sealer recoating interval | 3 hours | Uneven protection, hazing |
Adhering to these intervals preserves the structural integrity and luminous surface of marble flooring tiles for decades.
Neglecting Movement Accommodation in Marble Flooring Tile Installations
Not accounting for movement during installation remains one of the main reasons why marble floors end up failing catastrophically. Marble and other natural stones expand and contract quite a bit when temperatures and humidity levels change around them. Take Carrara marble as just one example it can expand at rates approaching 5.5 times 10 to the negative sixth power inches per inch per degree Fahrenheit. When there's no proper engineering built into the system to handle these movements, the pressure builds up until it surpasses what marble can actually withstand before breaking down. This typically leads to cracks forming, sections lifting off the ground, or those annoying marble pieces popping out unexpectedly.
Per ANSI A108 and TCNA EJ171, movement joints must be installed:
- Every 20–25 feet in each direction in interior spaces
- Along all perimeters (walls, cabinets, fixed fixtures)
- Around columns, pipes, and other immovable objects
The joints need to be filled with good quality silicone sealant that matches the color, not regular grout, and stays flexible throughout the whole installation period. Commercial buildings that are temperature controlled experience daily thermal expansion and contraction. When we skip putting in those movement joints, cracks and other damage start showing up pretty quickly, usually somewhere between a year and a year and a half later. Looking at industry reports, around 38 percent of early marble floor replacements in business spaces happen because movement wasn't properly accounted for. Proper placement of these joints isn't just about looks either. Think of them as structural protection against future problems down the road.
FAQs
Why is substrate preparation crucial for marble flooring?
Proper substrate preparation ensures a flat, strong, and moisture-controlled surface, preventing issues like lippage, cracking, and tile delamination.
What adhesive should be used for marble flooring tiles?
Polymer-modified adhesives are recommended for marble flooring as they offer flexibility and moisture resistance, whereas standard cement-based adhesives do not.
What does back-buttering mean in tile installation?
Back-buttering involves applying adhesive to both the substrate and the back of the tile for optimal contact and coverage, reducing the risk of delamination.
Why is grout line consistency important?
Consistent grout lines distribute stress evenly and prevent cracks in the marble, while irregular grout lines create stress points.
How should movement in marble tile installations be managed?
Movement joints should be installed in specific intervals and filled with silicone sealant to accommodate expansion and contraction of marble tiles.
Table of Contents
- Inadequate Surface Preparation for Marble Flooring Tiles
- Incorrect Adhesive Selection and Application for Marble Flooring Tiles
- Poor Layout, Cutting, and Leveling Practices with Marble Flooring Tiles
- Rushed or Improper Grouting and Sealing of Marble Flooring Tiles
- Neglecting Movement Accommodation in Marble Flooring Tile Installations
- FAQs